

For Creators polishing the look and feel of a Space.
Lighting & environment
Light your exhibition, set the environment and background, and add finishing post-processing effects.
Overview
Once your room and artworks are in place, this is where you set the mood: lighting, the surrounding environment, background, and finishing effects. These controls live mostly in the Space panel and the Hierarchy. (For where visitors start and how the camera moves, see Camera, viewpoints & motion.) Remember to Save with the top-right button as you go.
Lights
Add lights from the Hierarchy panel's Add (+) menu, under Lights. Each type serves a different purpose:
- Ambient — an even overall fill that brightens everything uniformly.
- Directional — sun-like parallel light from one direction; can cast shadows.
- Spot — a cone of light with adjustable angle and penumbra (soft edge); can cast shadows.
- Point — an omnidirectional bulb that lights in all directions; can cast shadows.
- Hemisphere — a soft sky/ground tint for natural ambient color.

Shadows
For Directional, Spot, and Point lights you can enable cast shadow and tune the shadow map size (higher is sharper but heavier) and bias (to remove shadow artifacts). You can add as many lights as your scene needs, but each shadow-casting light adds rendering cost, so use them deliberately.
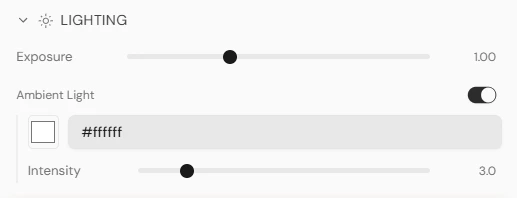
Overall exposure and base ambient
The Space panel → Lighting section holds two scene-wide controls, separate from the individual lights you add in the Hierarchy:
- Exposure — the overall brightness of the whole scene. Raise it if everything looks too dark, lower it if the scene is blown out.
- Tone mapping — how bright values roll off to avoid harsh clipping (ACES by default; also None, Linear, Reinhard, and Cineon).
- Ambient Light — a base fill for the entire scene. Turn it on and set its color and intensity to lift the shadows evenly, without adding a separate Ambient light in the Hierarchy.
Environment
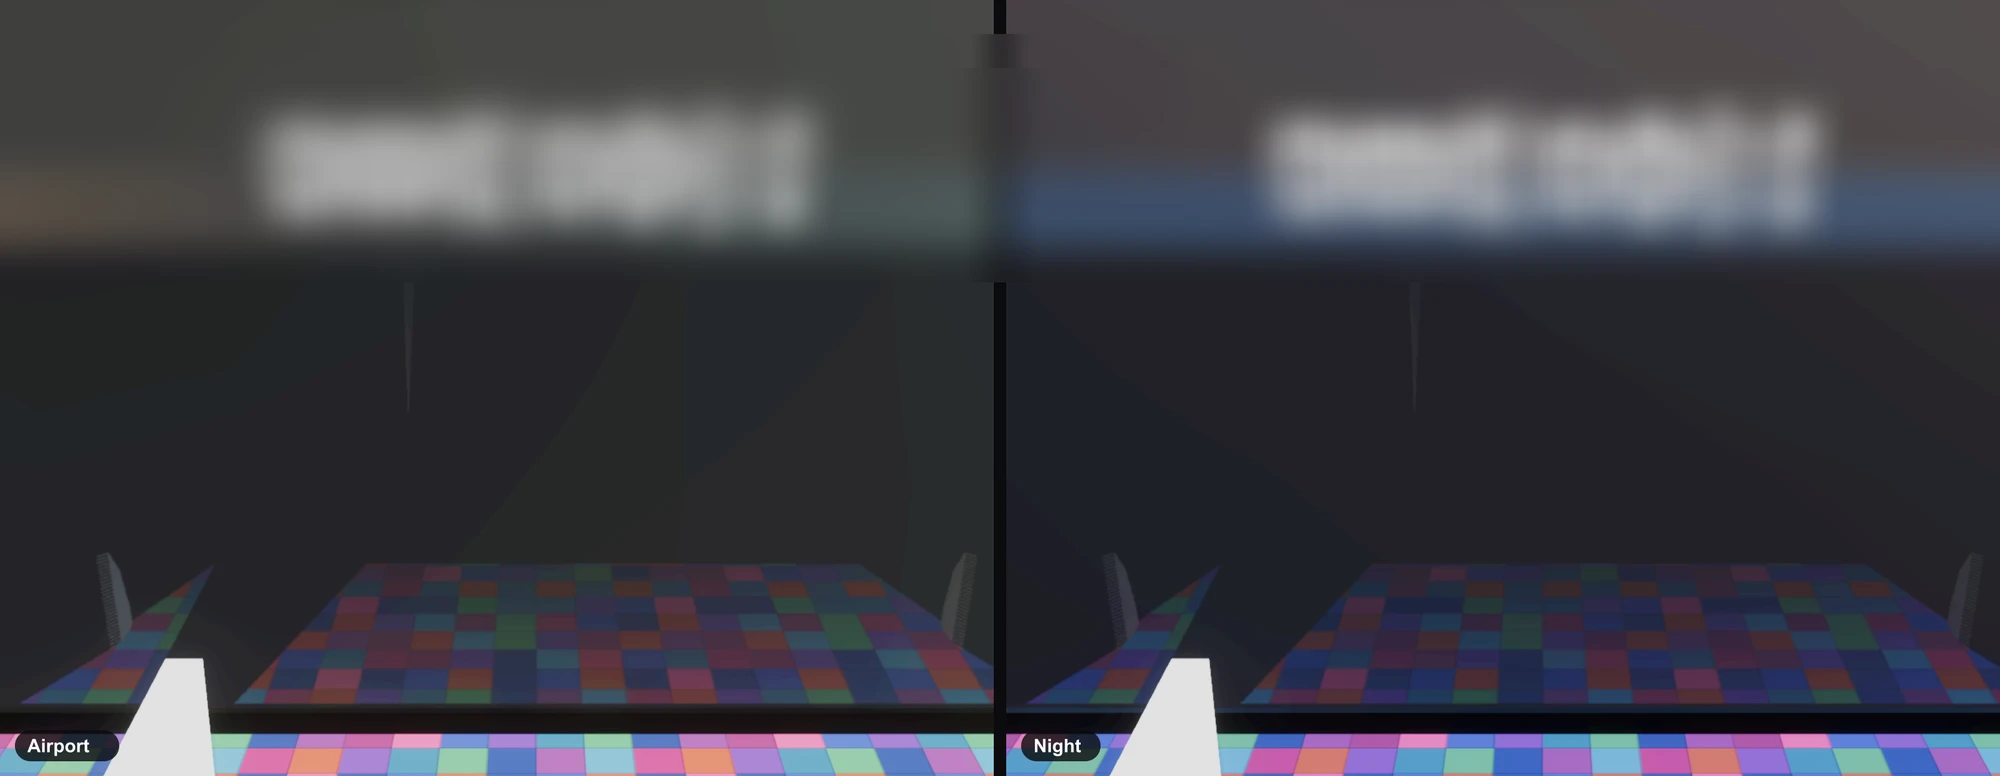
Open the Space panel → Environment to set what surrounds and lights your scene.
- 1Pick an HDRI preset for realistic surrounding light and reflections — options include Airport, Hall, Hill, Night, Office, Sky, Snow Field, Stadium, Street, Venice Sunset, and more. Choose None for no environment map.
- 2Or upload a custom environment map (.hdr or .exr, up to 100MB); remove it again with its delete button.
- 3Adjust the environment intensity to brighten or dim it, and the rotation to turn the surroundings.
Background and fog
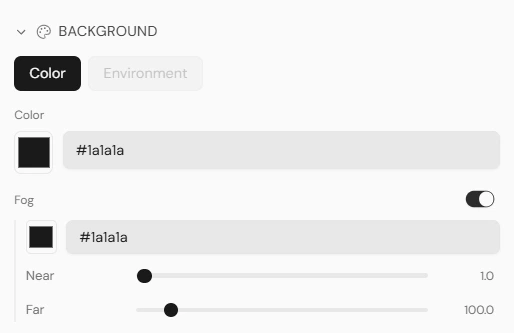
The Space panel → Background section controls what shows behind your scene, plus optional atmospheric fog.
- Background: Color — a solid backdrop. Pick any color with the swatch or type a hex value.
- Background: Environment — show your HDRI environment itself as the backdrop (available once an environment map is set). Tune its Blur to soften it and its Intensity to brighten or dim the backdrop on its own.
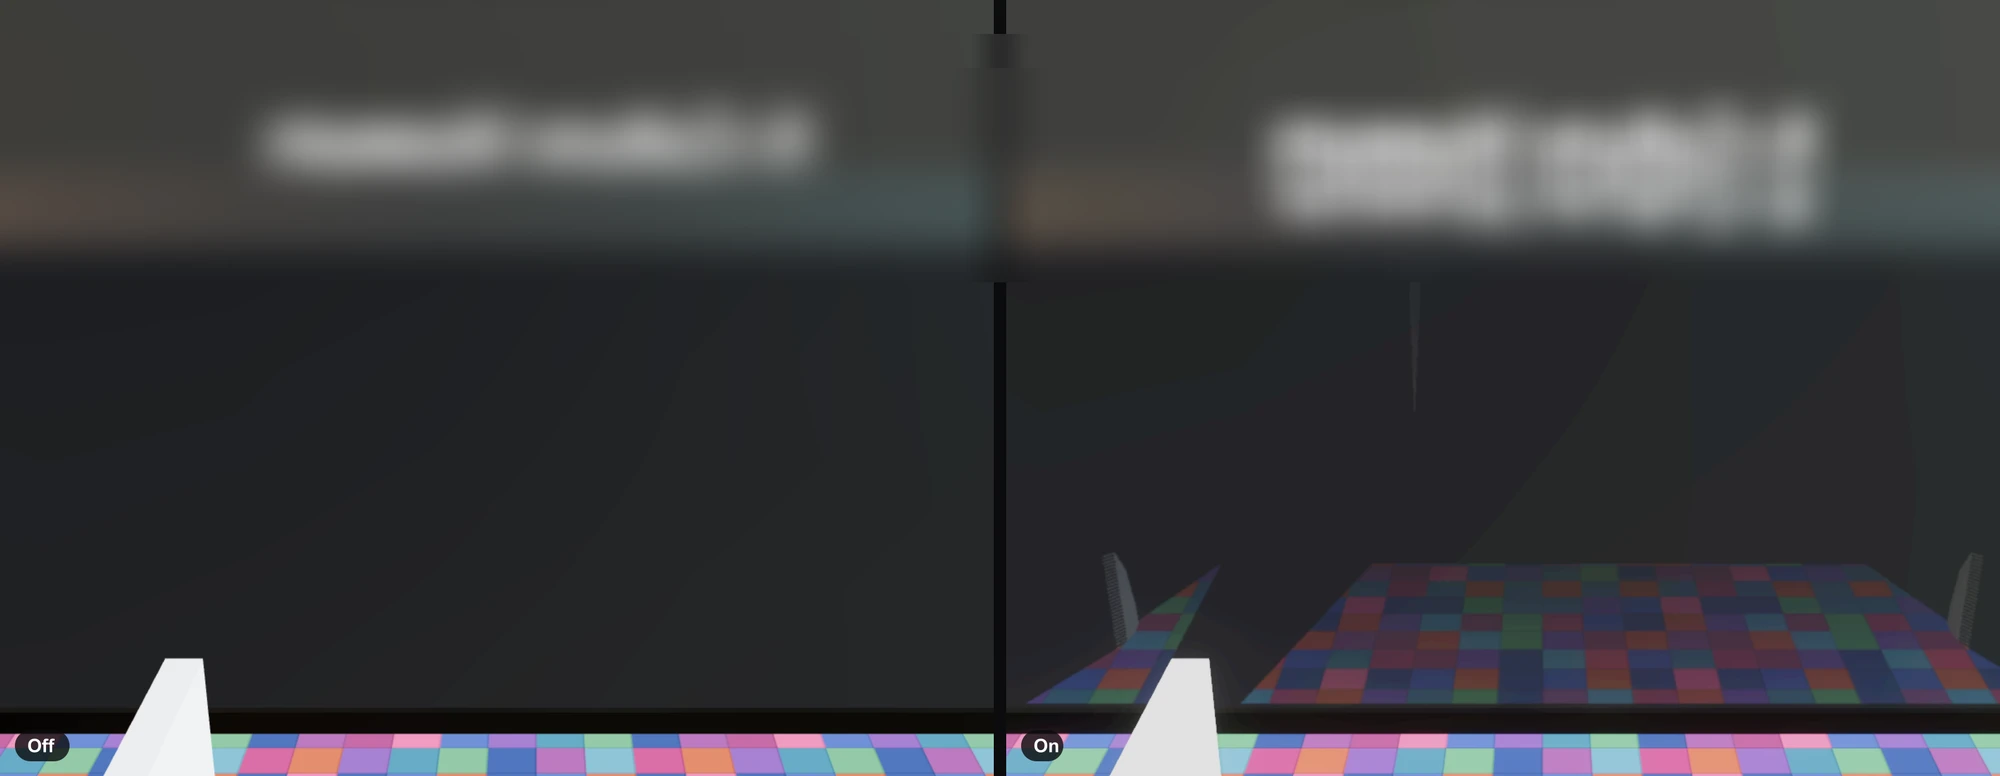
- Fog — turn it on to fade objects into the distance for depth or mood. Set the fog color, the Near distance (where fog begins), and the Far distance (where it fully hides objects).
Post-processing
Open the Space panel → Post Processing to add finishing effects. Each one is a toggle, so you can layer them or turn them off:
- Ambient Occlusion (AO) — soft contact shadows where surfaces meet, with a Radius and a near/far distance range.
- Bloom — a gentle glow around bright areas, with Strength, Threshold, and Radius.
- Screen-Space Reflections (SSR) — real-time reflections on shiny surfaces, with opacity, distance, and a Resolution quality setting (Low → Ultra).
- Color grading — adjust the overall brightness, contrast, hue, and saturation.
SSR only reflects meshes you opt in: turn on SSR Selected in a mesh's Material panel for it to show up in the reflection. Without that, SSR can look like it does nothing.
Effects like AO, SSR, and Bloom add realism but cost performance. Toggle them on, press P to preview, and dial them back if the scene feels heavy on slower devices.
Editor helpers
The Space panel → Helpers section has two editor-only aids: Show Grid (a reference floor grid) and Show Light Helpers (visualize each light's position and direction). They help while you build and never appear in the published Space.
Notes
- Use Preview (press P) often — lighting and effects read very differently in the viewer than in the editor.
- If shadows look harsh or noisy, lower a light's intensity, raise the shadow map size, or adjust the bias.