

For Creators fine-tuning individual objects in a Space.
Object properties
The right-sidebar Properties panels: transform, display, and material shared by objects, plus the type-specific options for meshes, lights, projectors, text, models, splats, groups, and tracks.
Overview
When you select an object — in the canvas or the Hierarchy — its settings appear in the Properties area of the right sidebar. Which controls you see depends on what you selected. This page covers every property panel. To learn the layout and selection first, see Using the Studio; to add the objects themselves, see Add and arrange content.
Transform and display
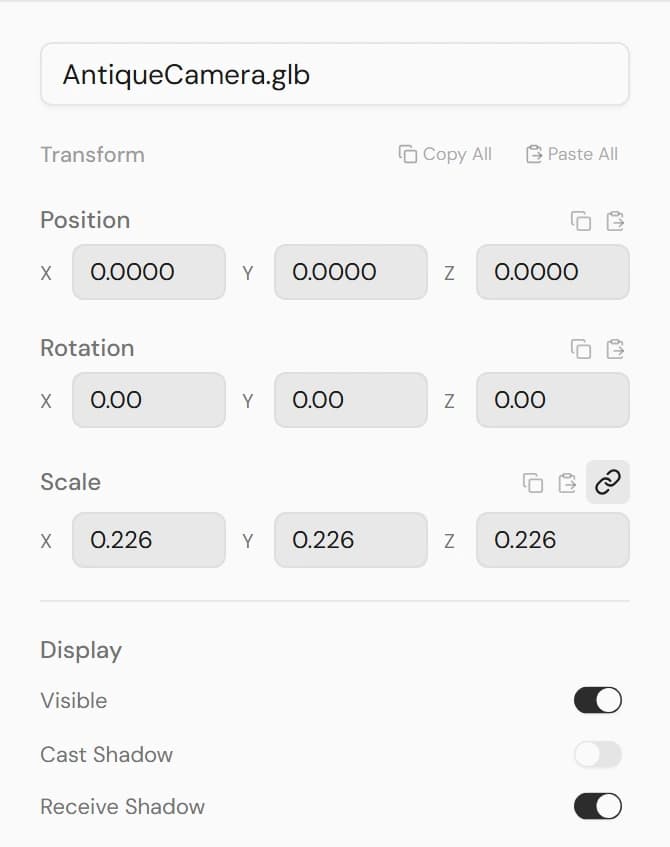
Most objects share the same top controls:
- Transform — set Position, Rotation, and Scale by dragging a field or typing an exact value. The link toggle on Scale turns on uniform scaling (all axes together).
- Copy / Paste — copy a single field (position, rotation, or scale), or use Copy All / Paste All to move a whole transform onto another object.
- Display — Visible, Cast Shadow, and Receive Shadow toggles control whether the object shows and how it interacts with light.
Meshes and planes
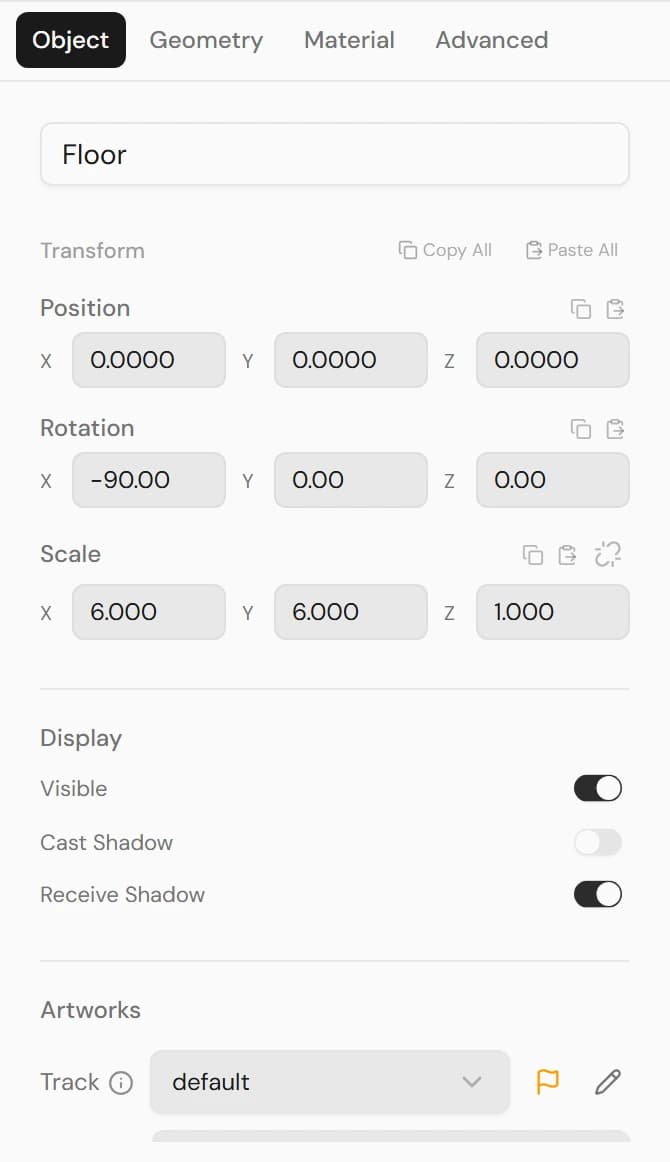
Shapes (Plane, Box, Sphere, Cylinder, Torus, Circle) share a tabbed panel: Object, Geometry, Material, and Advanced.
Object tab
- Name, Transform, and Display (as above).
- Fit Aspect Ratio — for a Plane or Box showing a video, matches the width to the video's aspect ratio.
- Artwork — assign one of your uploaded videos, put it on a Track, and set its Volume. See Display artwork videos on surfaces.
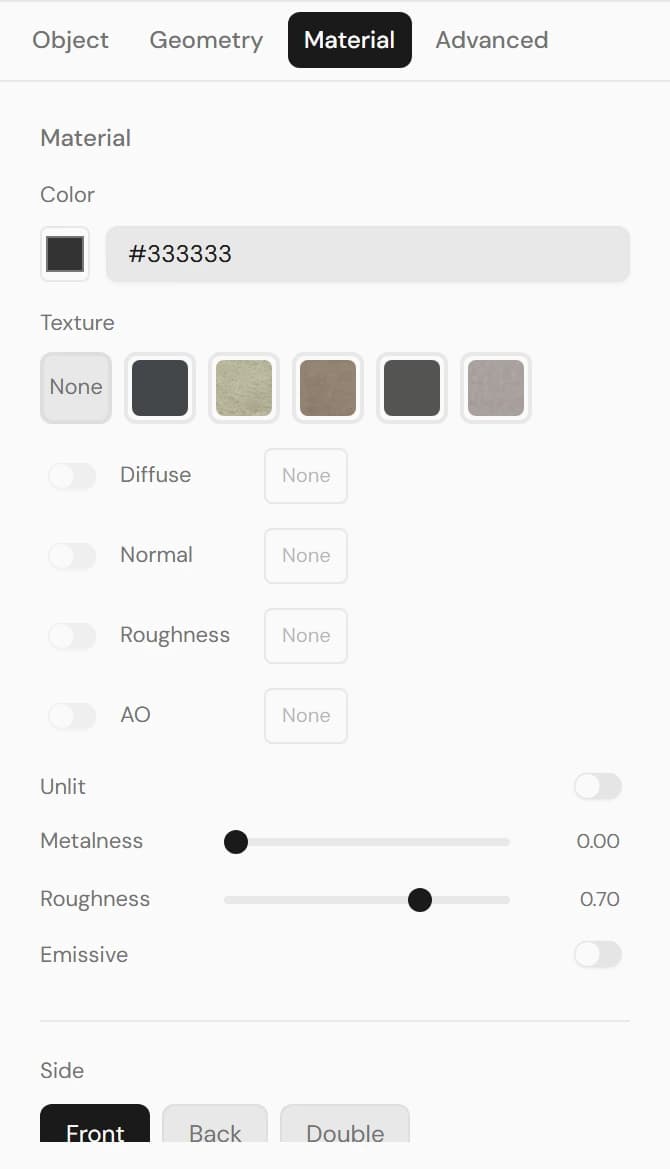
Material tab
- Color — the surface color.
- Texture — apply a built-in preset (Black, Cream, Dark Beige, Grey, Painted) or upload your own maps per channel (Diffuse, Normal, Roughness, AO).
- Tiling — repeat the texture across the surface, with a Repeat amount.
- Unlit — ignore scene lighting for a flat, even look.
- Metalness and Roughness — how metallic and how glossy the surface is (hidden when Unlit).
- Emissive — make the surface glow, with an Intensity.
- SSR Select — include this surface in Screen-Space Reflections (shown only when SSR is on in Post-processing).
- Side — render the Front, Back, or Double side.
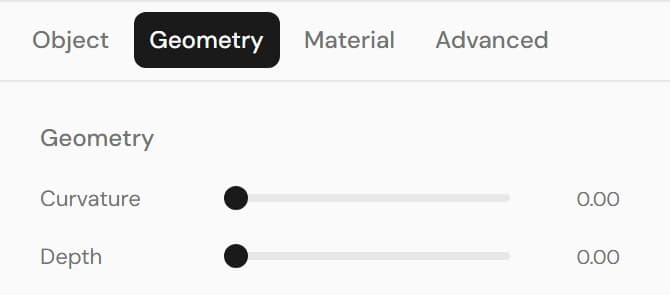
Geometry tab
The Geometry tab depends on the shape:
- Plane — Curvature and Depth to bend it into an arc; Perfect Arc snaps it to a circular curve.
- Sphere — width and height segments.
- Cylinder — top and bottom radius, and radial segments.
- Torus — tube thickness, and radial/tubular segments.
- Circle — segment count.
- Box — no geometry controls; size it with Scale.
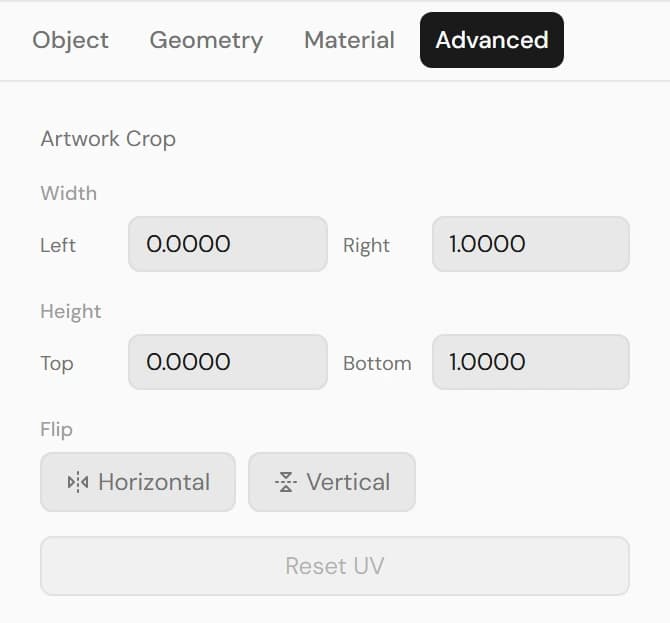
Advanced tab
- Crop — trim which part of the video shows (Left / Right / Top / Bottom).
- Flip — mirror the video Horizontally or Vertically.
- Reset UV — restore the full, un-cropped mapping.
- Faces (Box only) — choose which of the six faces display the video.
Lights
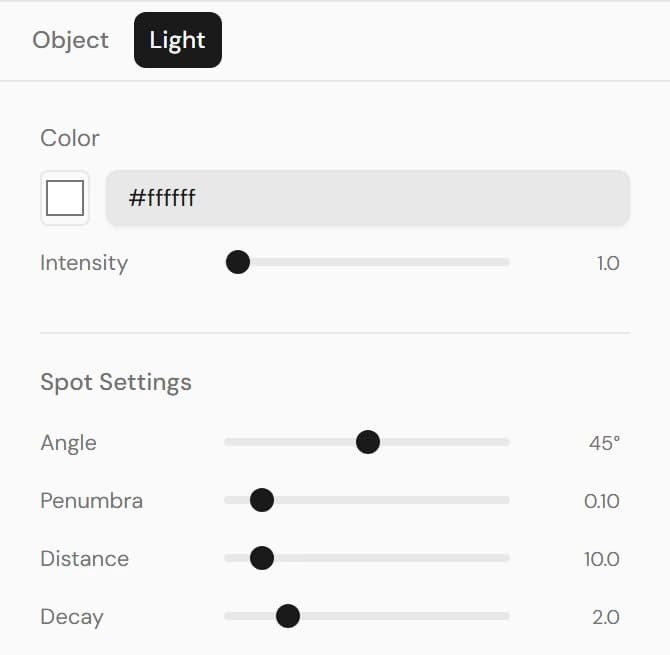
A light has an Object tab (name, position, rotation, Visible, Cast Shadow) and a Light tab. For what each light type does, see Lighting & environment.
- Color — the light color. A Hemisphere light instead has separate Sky and Ground colors.
- Intensity — brightness.
- Angle and Penumbra — the cone width and its soft edge (Spot).
- Distance and Decay — how far the light reaches and how it falls off (Spot and Point).
- Shadow (when Cast Shadow is on) — Bias and Normal Bias to remove artifacts, Shadow Size (Directional), and Map Size (sharper but heavier).
Projectors
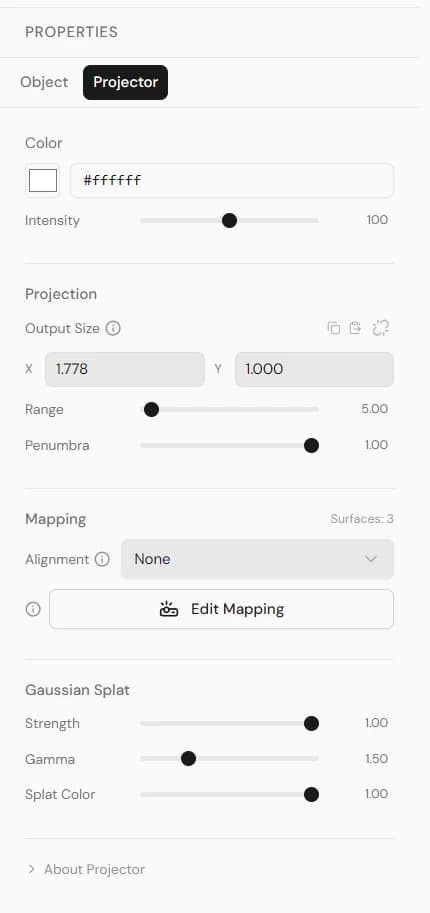
A projector's Object tab holds its transform, Visible / Cast Shadow, its Track, and a summary of its surfaces (what it shows is set in Edit Mapping). A projector on a Track with several surfaces also gets a Sync source picker — which surface's video the Track seeks by. With Track Sync off, play / pause / restart apply to all of the projector's videos, and the seek bar shows only when they are all the same video. The Projector tab holds:
- Color and Intensity.
- Output Size — the projection size (width × height, in meters at 1 m), with an aspect lock. Surfaces sit inside this frame as a fraction of it.
- Range — how far the beam travels.
- Sharpness — how crisp the edge of the projection is. 1.00 is a clean edge; lower values fade it inward from all four sides.
- Test pattern on (N surfaces) — appears only while a test pattern is showing on one of this projector's surfaces, with a Clear button that turns them all off. Other projectors are left alone. You pick the pattern on the surface itself — see Edit Mapping below.
- Edit Mapping — opens the surface editor on the left (see below). Videos, crop, placement, warp and edge blend all live there.
- Gaussian Splat — how the video reads where it lands on a Gaussian splat instead of a solid surface. Strength (0–1) is how much of the splat the video replaces, Gamma (1–3) tunes its brightness there, and Splat Color (0–1) is how much of the splat's own color tints it. These affect splats only — on solid surfaces the look comes from Color and Intensity.
- Shadow Map Size — when Cast Shadow is on.
Edit Mapping
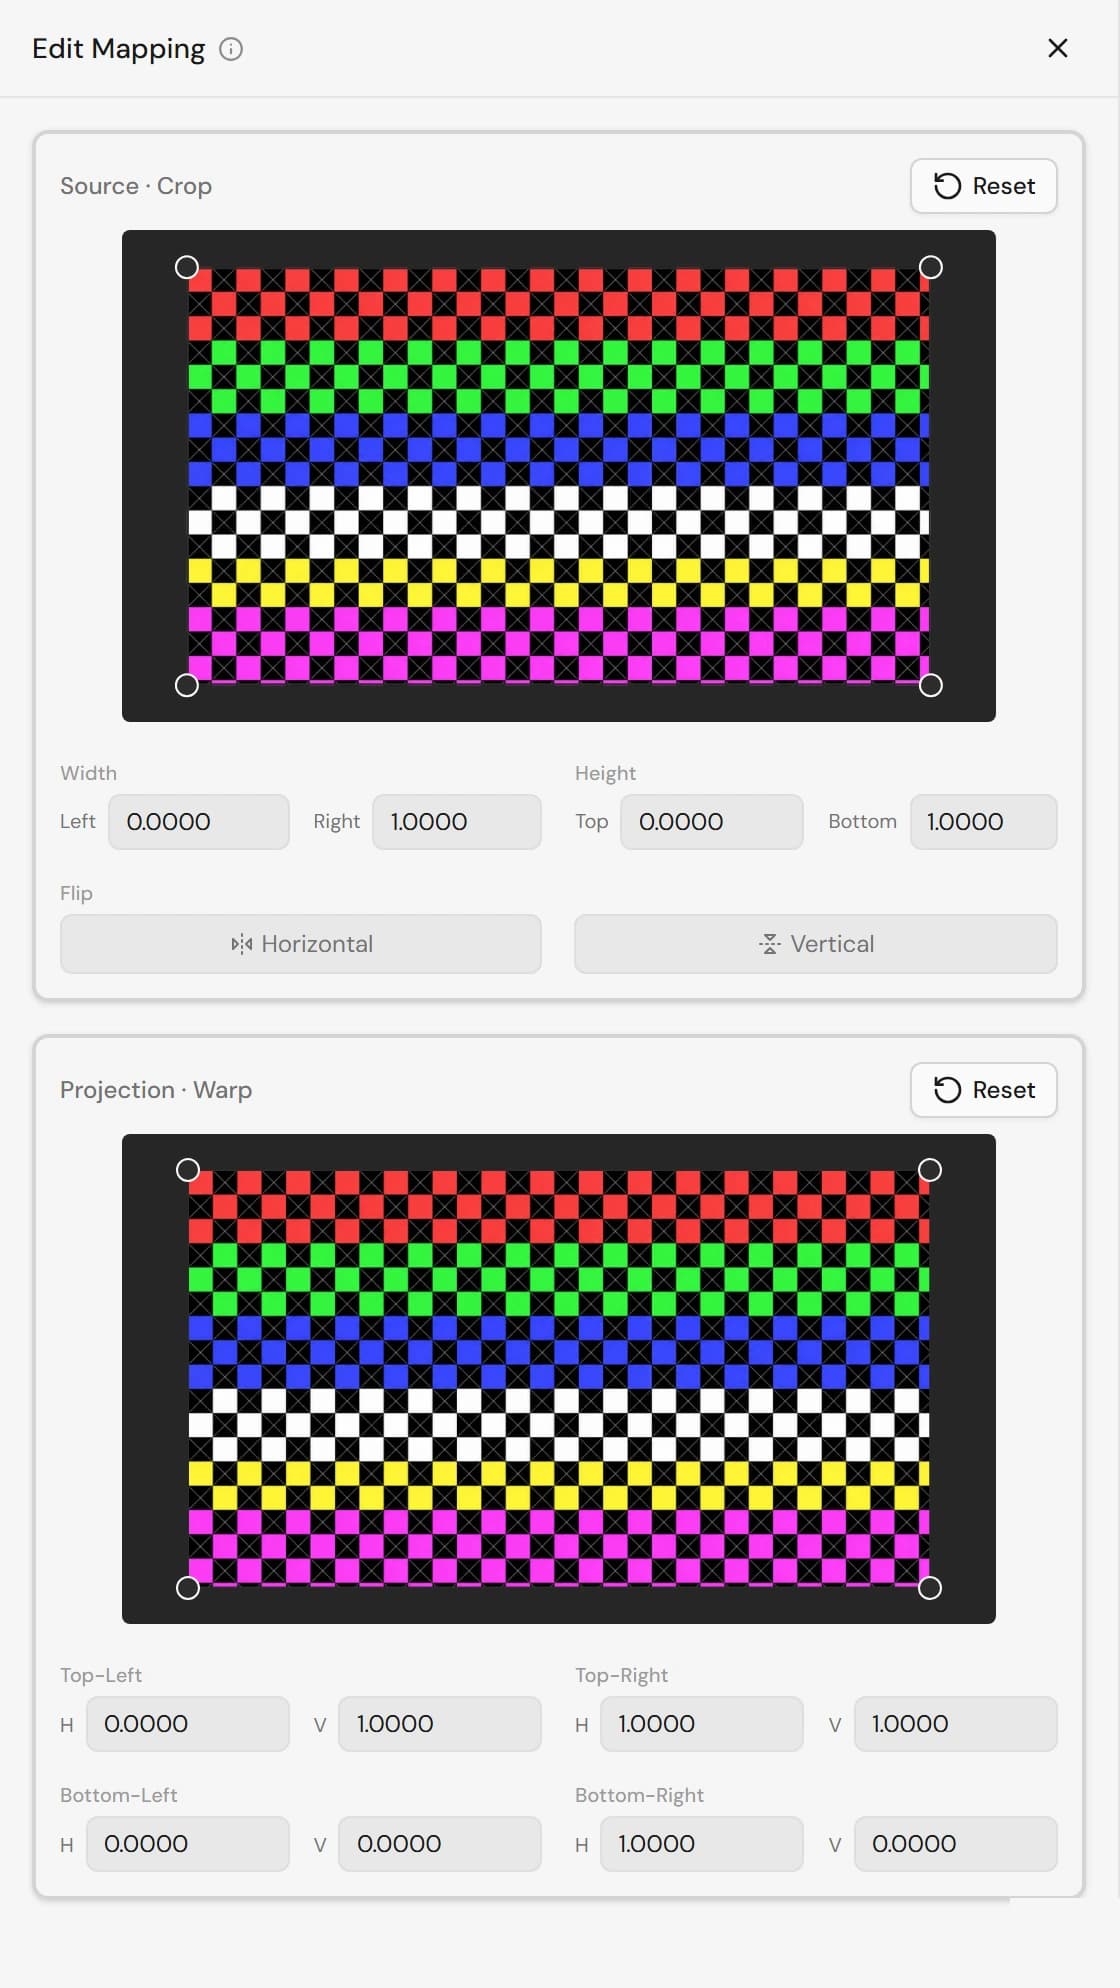
Edit Mapping opens a focused editor for everything the projector shows. A projector displays one or more surfaces inside its frame — each surface is a shape (rectangle, triangle or ellipse) with its own video, crop, placement and warp:
- Surfaces (left column) — add a rectangle, triangle or ellipse, click to select, drag to reorder (the top of the list is drawn in front), show / hide, or remove. A projector always keeps at least one surface, and holds up to 10.
- Surface properties (below the list) — Media (the video, and Test Pattern — projects a test pattern on this surface instead of its video, cut to its shape: a built-in one (Checker, Alignment Grid, UV Cells, UV Gradient, Focus Card) or one of your own images from the Textures tab under Uploaded Textures, with + Add Image to upload one here. The video keeps playing behind it, and it is not saved — it turns off in Preview and on reload), Opacity and Flip, Crop numbers and source Rotation, Placement (X / Y / W / H / Rotation inside the frame, plus an aspect lock — it keeps the ratio while you drag a corner handle in the Warp window; it does not tie the W and H boxes together, and it is greyed out with Perspective on or on a triangle, where the corners do something else), Fit (shrinks the box to the source ratio after crop, keeping its top-left corner), Perspective (on / off plus the four corners — turning it off keeps the corner values but draws the surface as the upright rectangle that encloses them, so its size and position still reflect what you dragged; triangles have no Perspective card and no L/R/T/B crop numbers), Mesh Warp (rectangles — Precision sets the number of grid cells, Bézier bends the lines smoothly, Spherize bulges the grid into a sphere-like shape), Feathering (an even fade around the outline, any shape), Edge Blend (rectangles — each edge has its own width and curve), and Playback / Volume (volume belongs to the video, so surfaces that share a video share it).
- Source · Crop (right, top) — drag the crop rectangle of the selected surface. (The Flip H / Flip V buttons live in the Input · Crop card on the left, not in this window.) Dragging a crop corner past its opposite turns the crop frame around: the picture here does not move, but the output is flipped on that axis — the Flip buttons stay off, so drag the corner back or use Reset to undo it. On a triangle there is no crop rectangle at all: you drag the three points of a source triangle instead, which is why the L / R / T / B boxes are missing for triangles. With a Test Pattern on, this window shows the pattern too, so what you crop is what lands on the wall.
- Projection · Warp (right, bottom) — the projector frame. Drag the surface to move it, drag its corners to resize (or, with Perspective on, to keystone), the handle on its right edge to rotate and the one on its top edge to scale it evenly, and a triangle's points to reshape it (on a triangle those two handles sit on its sloping sides — right to rotate, left to scale). Right-click inside a rectangle to add a warp point; drag points to bend the image. Drag a grid line segment to move just that segment, or double-click a line and drag to move the whole line. Other surfaces show as dashed outlines. Two things to know when you drag corners a long way: with Perspective on, crossing two corners over each other folds the shape and the surface stops being projected until you pull them back (the outline and handles stay, so it is not lost); with Perspective off, dragging a corner past its opposite mirrors the output left-right — the picture in the crop window does not change and the Flip buttons stay off, so use Output · Placement Reset to undo it. Handles also snap to nearby points; the magnet button in the header turns that off.
- Reset buttons: Input · Crop and Source · Crop both clear the whole source crop; Output · Placement restores the placement box; Triangle Shape Reset (triangles, under Placement) restores the three corner points; and the Projection · Warp Reset restores all of the projection geometry — keystone, warp grid, triangle shape and the box — leaving the source crop alone.
A single full-frame rectangle behaves exactly as projectors did before surfaces existed — and it is the lightest to render. Adding surfaces, moving a surface inside the frame, or using a triangle / ellipse switches the projector to a composited image, which costs a little more GPU per frame.
To make a surface ignore the projection, turn on Unlit in its Material. Where surfaces overlap, enable Cast Shadow on both the projector and the front surface so the video doesn't bleed through to the surface behind.
Text and 3D text
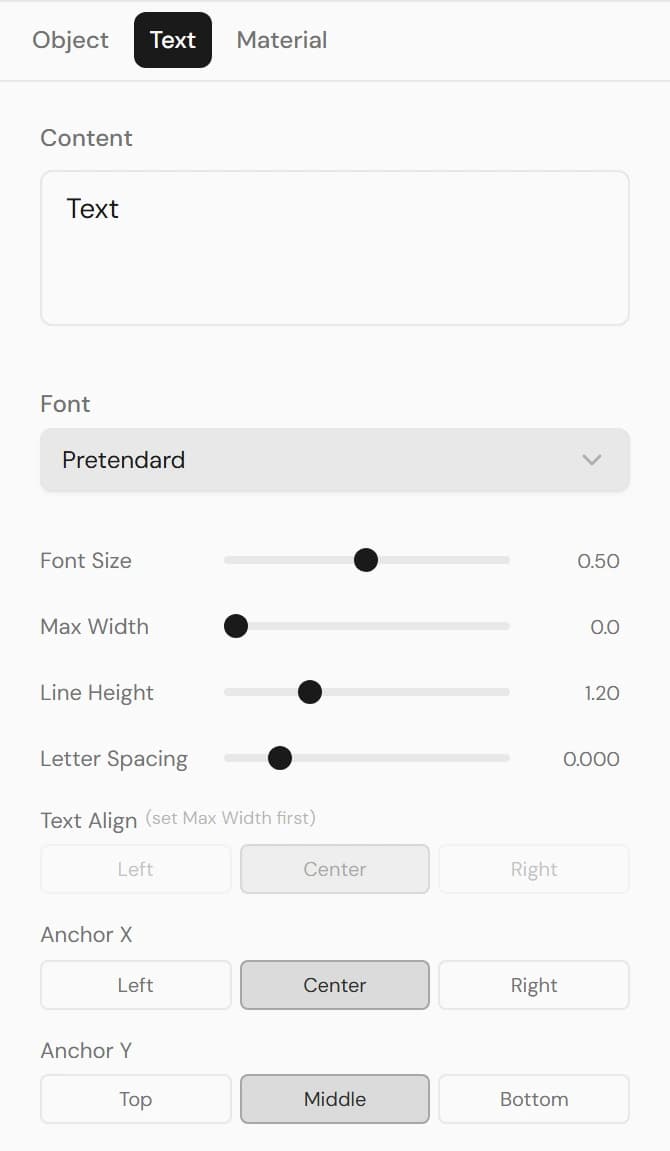
Text objects have Object, Text, and Material tabs.
- Content — the words to show.
- Font — a wide range of Korean and Latin fonts.
- Text (flat) — Size, Max Width (for wrapping), Line Height, Letter Spacing, Align, and Anchor (X and Y).
- Text 3D — Size, Depth, Curve Segments, an optional Bevel (thickness, size, segments), and Align.
- Material — color; Text 3D also has Metalness, Roughness, and Emissive.
3D models
Selecting a model shows the whole model's transform, display toggles, and SSR Select. Expand it in the Hierarchy and select a child part to override just that part, without changing the rest of the model:
- Object — the part's local transform, Visible, and shadows.
- Material — its own color, textures, tiling, unlit, metalness/roughness/emissive, and SSR Select.
- Advanced — assign an artwork to just that part and crop/flip it.
- Clearing an override restores the part to the model's original.
Gaussian splats
- Name, Transform, and Visible.
- Opacity — overall transparency of the splat.
- LOD Scale — level of detail, to balance quality against performance.
Groups
A group's panel shows its name, member count, and a transform — moving, rotating, or scaling the group affects everything inside it (and nudges its linked viewpoint). See Add and arrange content for grouping.
Tracks
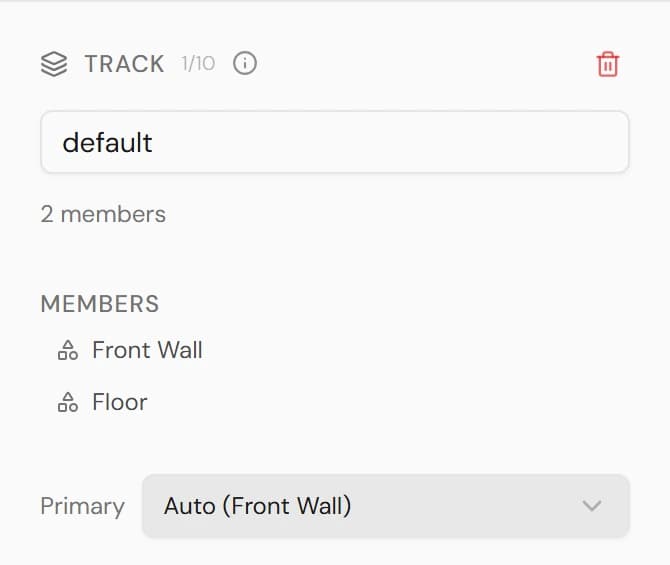
A Track panel manages a synchronized-playback group:
- Name and Members — the screens and projectors on the Track.
- Primary — which member drives the shared timeline (Auto uses the first).
- Video controls — play, pause, and seek the whole Track at once.
- Remove Track — deletes the Track and its linked viewpoint.
For how Tracks keep multiple screens in sync, see Sync playback with Tracks.
Multiple selection (Batch)
Select two or more objects of the same type to edit them together in a Batch panel — for example, set the Side (Front / Back / Double) for several meshes at once, or press Delete to remove them all. Fields that differ across the selection show as Mixed.